Makeup Brushes and Sponges: Use Them Correctly for a Beautiful Result

Makeup Brushes and Sponges: Use Them Correctly for a Beautiful Result
A flawless makeup look isn’t just about high-quality products—it’s also about how you apply them. The right tools can make the difference between a patchy finish and a smooth, professional result. Makeup brushes and sponges are essential in any beauty routine, but they need proper use and care to perform their best. Here’s a guide to help you get the most out of them.
Know the Difference Between Brushes and Sponges
While both brushes and sponges are used to apply makeup, they serve different purposes.
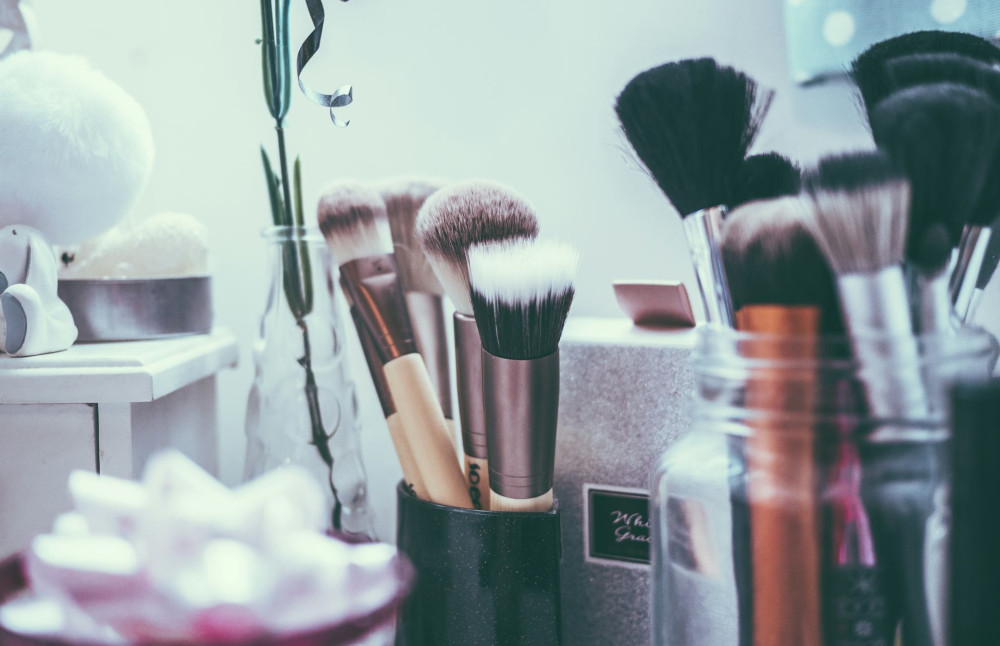
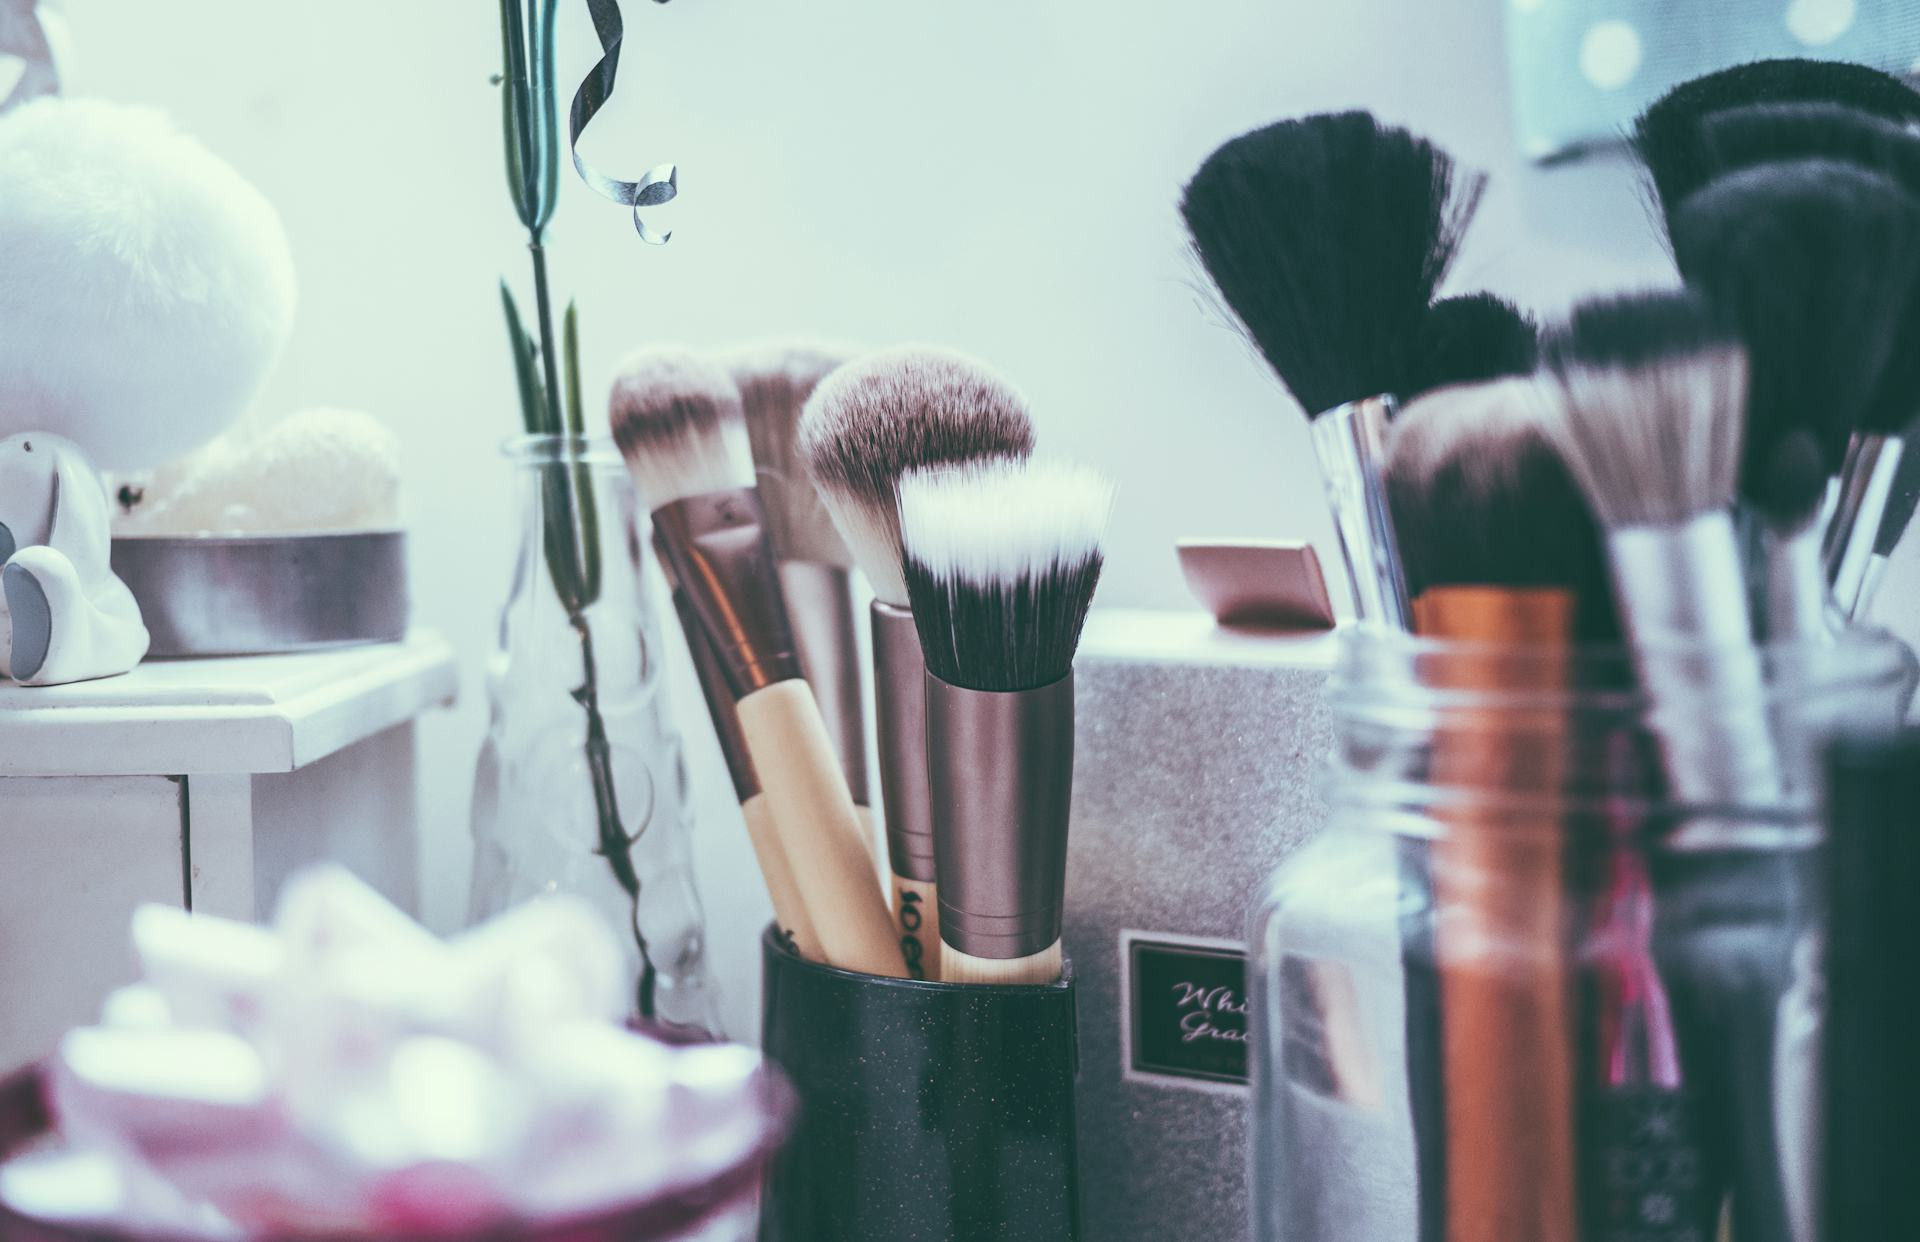
- Makeup brushes are perfect for precision and control. They come in many shapes and sizes—from large, fluffy powder brushes to small, dense ones for eyeshadow or concealer.
- Makeup sponges (often called beauty blenders) create a soft, natural, “airbrushed” finish, especially with liquid or cream products like foundation and concealer.
As a general rule, use brushes to build coverage and define details, and sponges to blend and smooth everything together.
How to Use Makeup Brushes Correctly
Choosing the right brush for the right task is the first step toward a beautiful result.
- Foundation brush: Use a dense, flat, or slightly rounded brush to apply liquid foundation. Work in small circular motions to avoid streaks.
- Powder brush: A large, fluffy brush distributes powder evenly for a light, natural finish. Dip the brush into the product, tap off the excess, and apply with gentle sweeping motions.
- Blush and bronzer brush: A medium-sized, rounded brush helps you blend color seamlessly so you don’t end up with harsh lines.
- Eyeshadow brushes: Use a flat brush to pack color onto the lid and a soft, rounded brush to blend shades together.
Quality matters. A good brush keeps its shape, doesn’t shed, and makes precise application much easier.
How to Use Makeup Sponges
A makeup sponge should almost always be used damp—that’s the secret to a smooth, natural finish. Wet the sponge, squeeze out the excess water, and gently bounce (not drag) the product onto your skin.
- Use the rounded side for foundation and the pointed tip for hard-to-reach areas like around the nose and under the eyes.
- For concealer, a smaller sponge gives you better control.
- To build coverage, layer the product by dabbing more on—avoid rubbing, which can lift the makeup off your skin.
Sponges are also great for blending cream blush, highlighter, or contour products to create seamless transitions between shades.
Læs også:


Cleaning and Maintenance
No matter how good your tools are, they won’t perform well if they’re dirty. Brushes and sponges collect product residue, oil, and bacteria, which can lead to breakouts and uneven application.
- Brushes: Wash them once a week with a gentle soap or brush cleanser. Rinse thoroughly, reshape the bristles, and let them dry flat on a towel.
- Sponges: Clean them after every use. Use a mild soap, gently squeeze, and rinse until the water runs clear. Let them dry completely before using again.
Replace sponges about every three months—sooner if they start to tear or develop an odor.
Avoid Common Mistakes
Even small habits can affect your makeup results. Here are a few common mistakes to watch out for:
- Using too much product on your brush or sponge—start with a little and build up.
- Using the same brush for multiple products without cleaning it in between—this can muddy your colors.
- Pressing too hard with a sponge—it removes product instead of blending it.
- Ignoring the texture of your product—a dense brush works better for creams, while a fluffy one is ideal for powders.
Find Your Own Routine
There’s no single “right” way to apply makeup. Some people swear by brushes, others prefer sponges—and many use both. The key is to find the tools that work best for your skin type, your products, and your personal style.
With a bit of practice and the right technique, you can make your makeup look natural, polished, and beautiful—every single day.
Læs også: